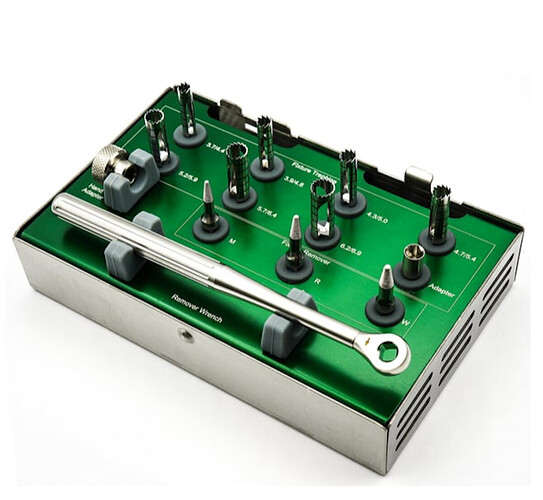
This topic provides instructions on how to properly use the Implant Removal Kit, which helps remove failed implants without compromising surrounding bone or damaging neighboring structures.
Sterilize all needed components before use.
Choose a Fixture Remover screw (FRS). 3 Screws are included with each kit and they are each designed to work with any threaded and self-tapping implant system. The fixture remover screws are available in small, medium, and large sizes. The small fixture removal screw is indicated for 3mm-4mm diameter implants, the medium screw indicated for 4mm - 5mm diameter implants, and the larger screw is indicated for 5mm - 8mm diameter implants. Although you can use the small-sized screw to remove large diameter implants (the screw will engage the implant), it may be difficult to disengage the implant from the screw after removal, when using a smaller screw for a larger implant.
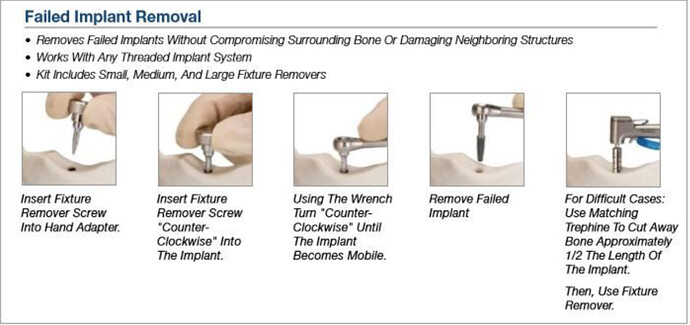
Turn the Fixture Removal Screws Counterclockwise for Removal Counter-Clockwise Movement: Manually insert the Fixture Remover Screw in the implant thread, using the handle-adapter, ensuring it fits in a counter-clockwise direction. Connect the counter-torque remover wrench and turn it counter-clockwise.
Applying Torque: Apply torque gently in an anti-clockwise direction until the implant is fully extracted. Note: Torque over 200 Ncm is not recommended, due to possible complications. If implant does not become mobile at 200 Ncm, use optional trephine technique as per below.
Optional Trephines: Some patients experience pain under high reverse drive, and some implants may require these high torques for removal. In these rare cases, trephines are used in combination with the FRS (see Froum S, Compendium. 2011;32(7):2-24). Trephine drilling to just 2-3mm reduces maximum torque to less than half, to break the implant-bone connection with extraction success. However, do NOT use the trephines all the way to the end of the implant. Instead, use the trephines for 1/2 or 1/3 (just 2-3mm) and then use the specialized fixture remover screws and reverse remover wrench, as per above, to remove the rest of the implant.
Removing the Removal Screws after Extraction
It’s important to remember that the implant are removed using Counter-Clockwise Movement! So you would manually insert the Fixture Remover Screw in the implant thread, using the handle-adapter, ensuring it fits in a counter-clockwise direction. Connect the counter-torque remover wrench and turn it counter-clockwise.
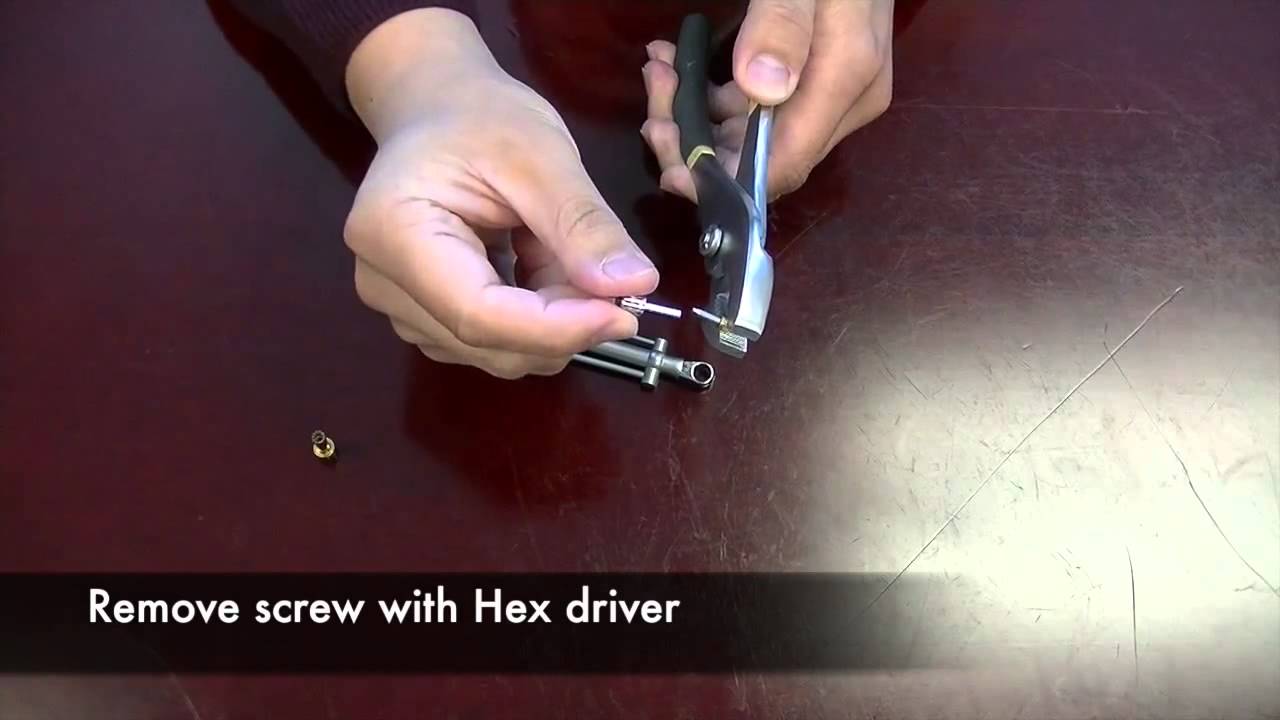
The video below, shows how to remove the screws from the implant after it is extracted. It is important to remember that when you used the implant remover screws to remove the implant, you reverse torqued into the implant, by turning counterclockwise. So to remove the remover screw from the implant, you must remove it by turning CLOCKWISE. Use a wrench to help with removal, as the screw will be tightly engaged with the implant.
(Note: This video is for an implant removal screw from the Gen2 Kit, but it is the same concept for the removal screws from the MCT Bio kit, as both screws function in the same manner).


