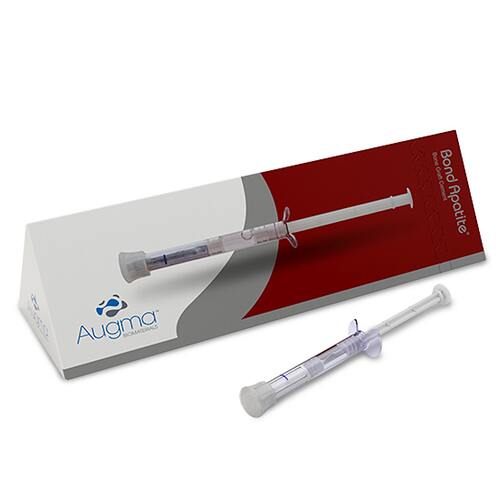
Below are instructions for Bond Apatite Bone Graft Cement. The most popular use for Bond Apatite is for socket preservation and grafting. The two videos below explain the procedure for socket grafting. It is important to note that the protocol is different depending on whether or not a flap reflection is needed. Additionally, the transition to working with bond apatite cement requires a completely different approach than those we are used to working with when using granules or putty. The videos below should be helpful in both regards.
How-To: Socket Grafting without Flap Reflection
Socket Grafting without Flap Reflection : Surgical Protocols
- No need to raise a flap in a socket with 4 bony walls.
- After extraction and complete debridement, activate and place the cement into the socket.
- Place a dry, unfolded gauze above the cement and press firmly for 3 seconds, first with a finger and then with a periosteal elevator.
- Protect the exposed cement with Augma Shield™ or Ora-Aid. (Augma Shield and Ora-Aid are identical products)
- Suture and secure Augma Shield™, or Ora-Aid, in place with a cross stitch suture.
Expert Tips:
- The cement should be well compacted in the cervical zone, though filling the apex zone is not crucial.
- During the initial stage of healing, the cement should not be left exposed.
- If Augma Shield™ is not available in your country a simple collagen sponge or plug can be used instead.
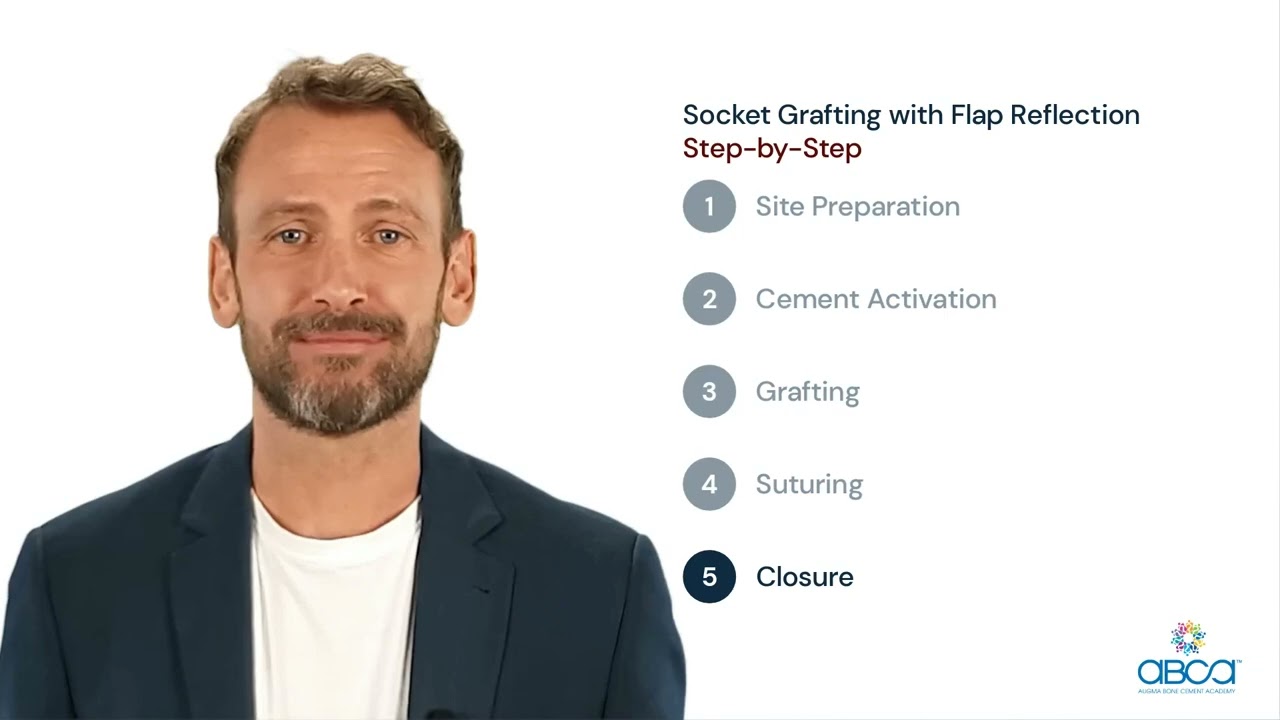
How-To: Socket Grafting with Flap Reflection
Socket Grafting with Flap Reflection : Surgical Protocols
- Before Flap reflection perform mesial oblique vertical incision (up to 2-3 mm into the mobile mucosa).
- Raise full thickness flap, minimally as needed to expose the entire defect.
- Extract the tooth and prepare the site for grafting.
- Cement application
- Eject the cement into the site.
- Place a dry sterile gauze and press firmly for 3 seconds on the buccal and occlusal aspects.
- Press again on top of the gauze using a periosteal elevator in order to compact and compress the cement well.
- Reposition the flap for maximal closure by stretching it directly above the cement (exposure of 2-3 mm is fine, but not more than that).
- Suture: Start from mesial, then distal, then in the middle, after that sutures can be placed in between.
- When using the Augma Shield™ or Ora-Aid. (Augma Shield and Ora-Aid are identical products) for coverage:
- Suture the vertical incision and cover the exposed material with Augma Shield™.
Expert Tips:
- Press firmly for 3 seconds, with a finger above a dry gauze.
- Exert additional pressure for few seconds on the gauze with a periosteal elevator.
- The material should be well compacted from all directions, buccally and occlusally.
- No soft tissue manipulation should be performed to gain a tension free flap.
- The flap is stretched for closure. Therefore, no periosteal releasing incision.


